1. The land: what to know first
Before thinking about design, find out what your plot allows: permitted use, number of floors, building coverage, setbacks from streets and neighbours, and any subdivision-specific rules. These set the size of house that’s possible before your wishes do. Also find out the plot’s level relative to the street, where services are, and what the ground around you is like.
If you haven’t bought the land yet, ask an engineering office for an opinion before buying: a cheaper plot may need rock excavation or soil treatment that wipes out the price difference. Read the city pages to learn building conditions in your city.
2. Soil investigation and survey
A survey fixes the plot’s boundaries and levels precisely, and a soil investigation sets the soil’s bearing capacity and the right foundation type, revealing groundwater, salts, and expansive or soft soils. The engineering office decides when an investigation is required by regulation and when it is advisable.
Many owners see the investigation as an extra cost; in fact it’s the cheapest protection against surprises. Without it contractors price foundations by guesswork, and the differences surface after excavation, when negotiating is hard. The soil report is what makes offers comparable.
3. Design and drawings
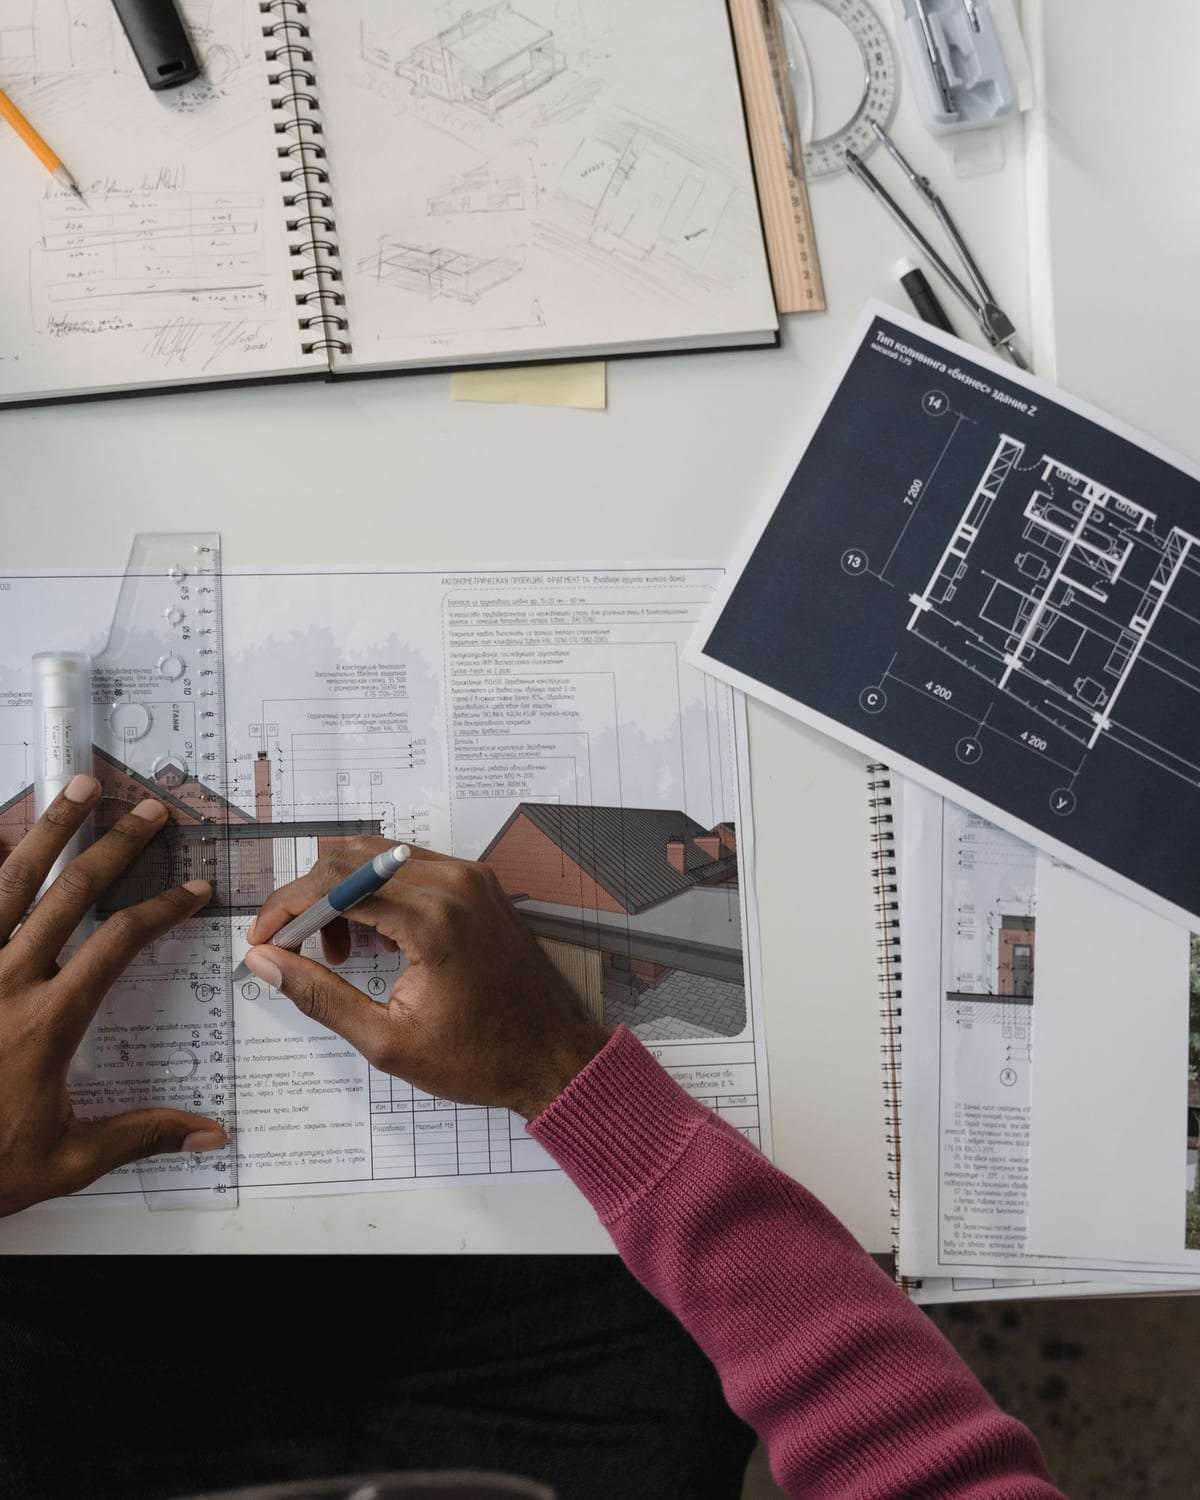
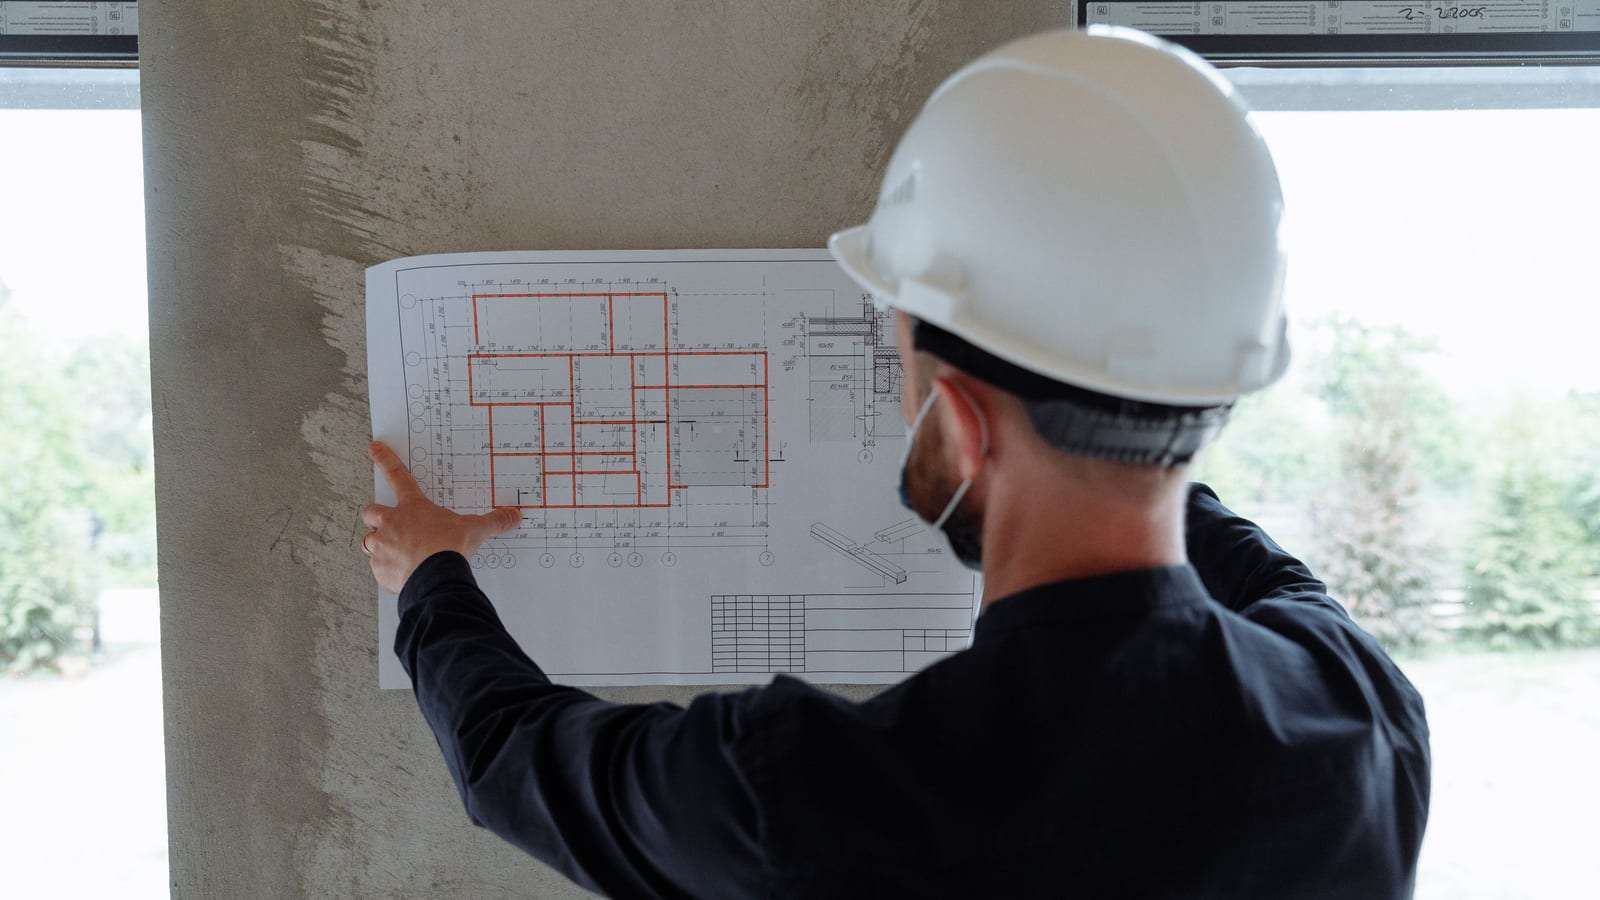
The engineering office designs the architectural drawings first: room layout, areas and facades. This is where you set your family’s needs now and in ten years: a separate majlis? A guest or staff annex? A flat to rent or for a son who will marry? Changing a wall on paper is free; after the pour it’s very expensive.
Then come the structural drawings — columns, slabs, foundations, steel and concrete quantities — and the electrical, plumbing and AC drawings. The more complete the drawings, the more accurate the offers and the fewer the surprises. Read about engineering design.
4. The building permit
Building permits are usually issued through the municipalities’ online platforms, with the engineering office typically submitting the application and drawings. Requirements and timelines vary between cities and project types, and may include energy-efficiency and safety requirements.
Don’t start any work on site before the permit is issued, and don’t deviate from the approved drawings without going back to the engineering office — it can lead to violations or problems when requesting the completion certificate and utility connections. Read the building permits guide.
5. Choosing the delivery route and contractor
First decide: build the shell and finish with another contractor, or go turnkey with one contractor? Then request written offers from at least three contractors on the same drawings, and compare them item by item, not on the total price.
Check the contractor’s commercial registration, ask to visit previous projects, and ask their owners about keeping to schedule and handling snags. Read how to choose a contractor and shell vs turnkey.
6. Contract, payment schedule and supervision
A written contract is what protects you when the parties disagree. Write in the scope, specification, duration, a payment schedule tied to completed stages, a change-order mechanism, warranties and the retention held until handover. Don’t pay a large sum upfront without matching work.
Engage a supervising engineer to represent you on site, check steel before every pour, approve stages before payment and record snags. Read the construction contract, payment schedules and engineering supervision.
7. The shell: from excavation to roof
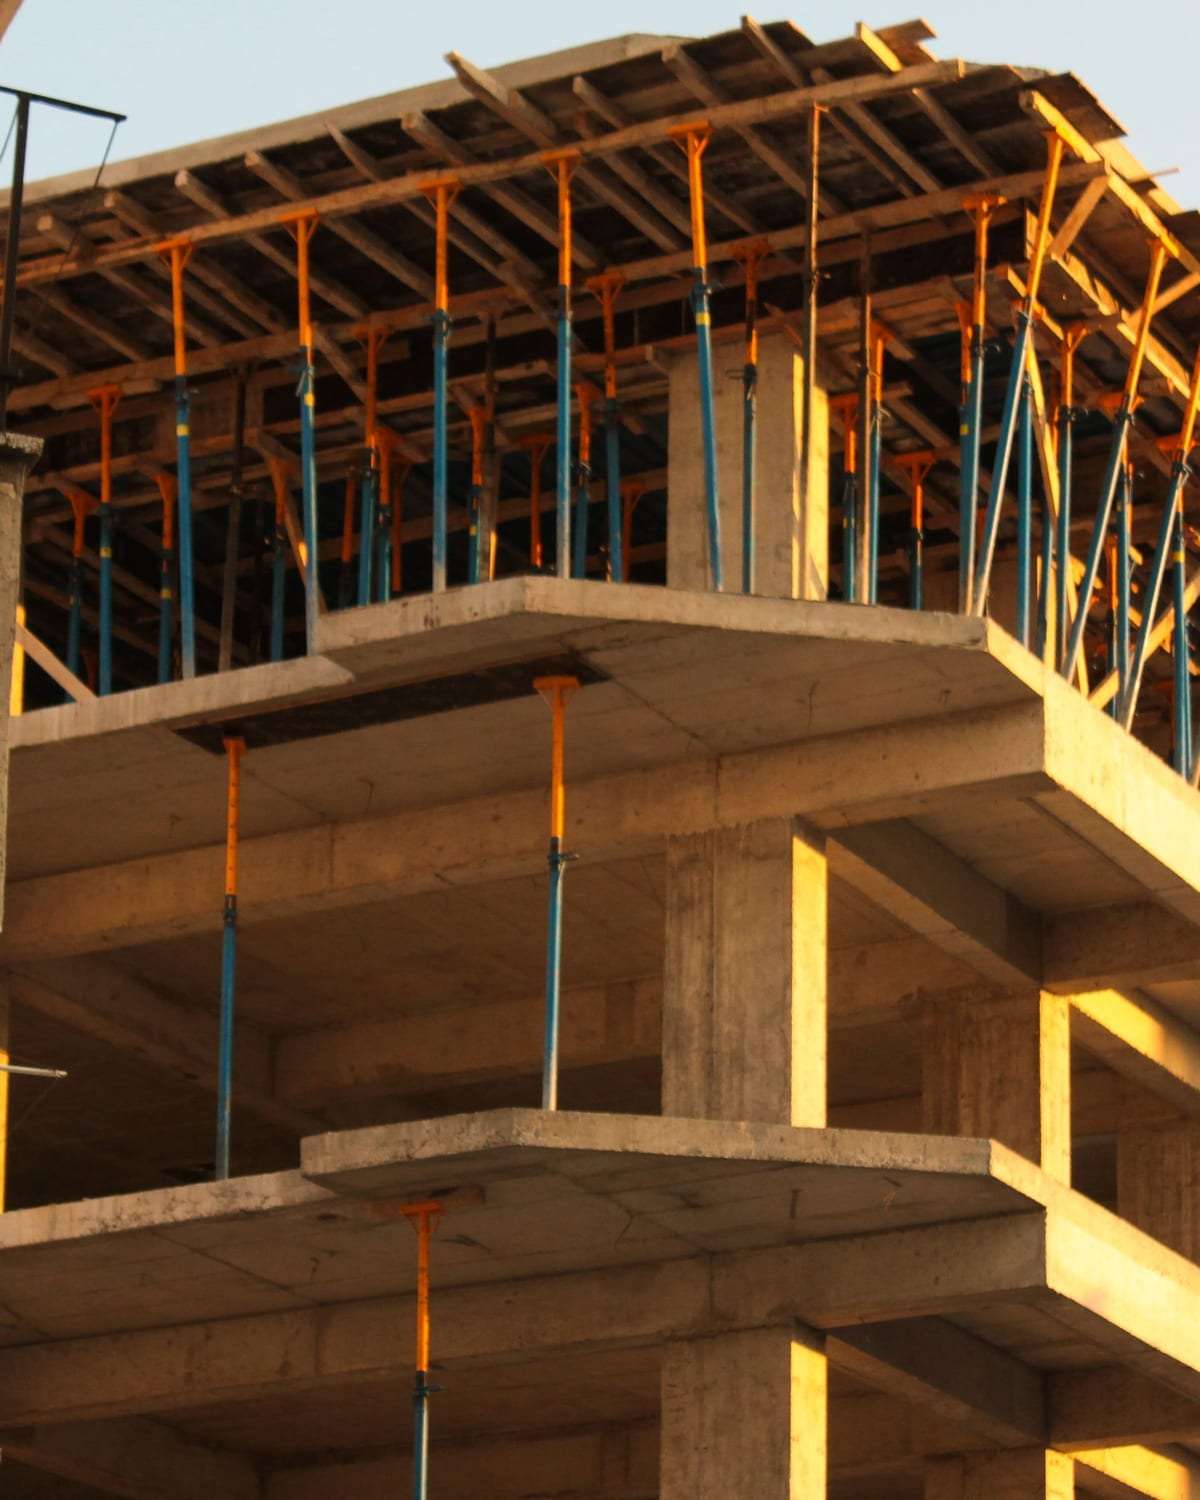
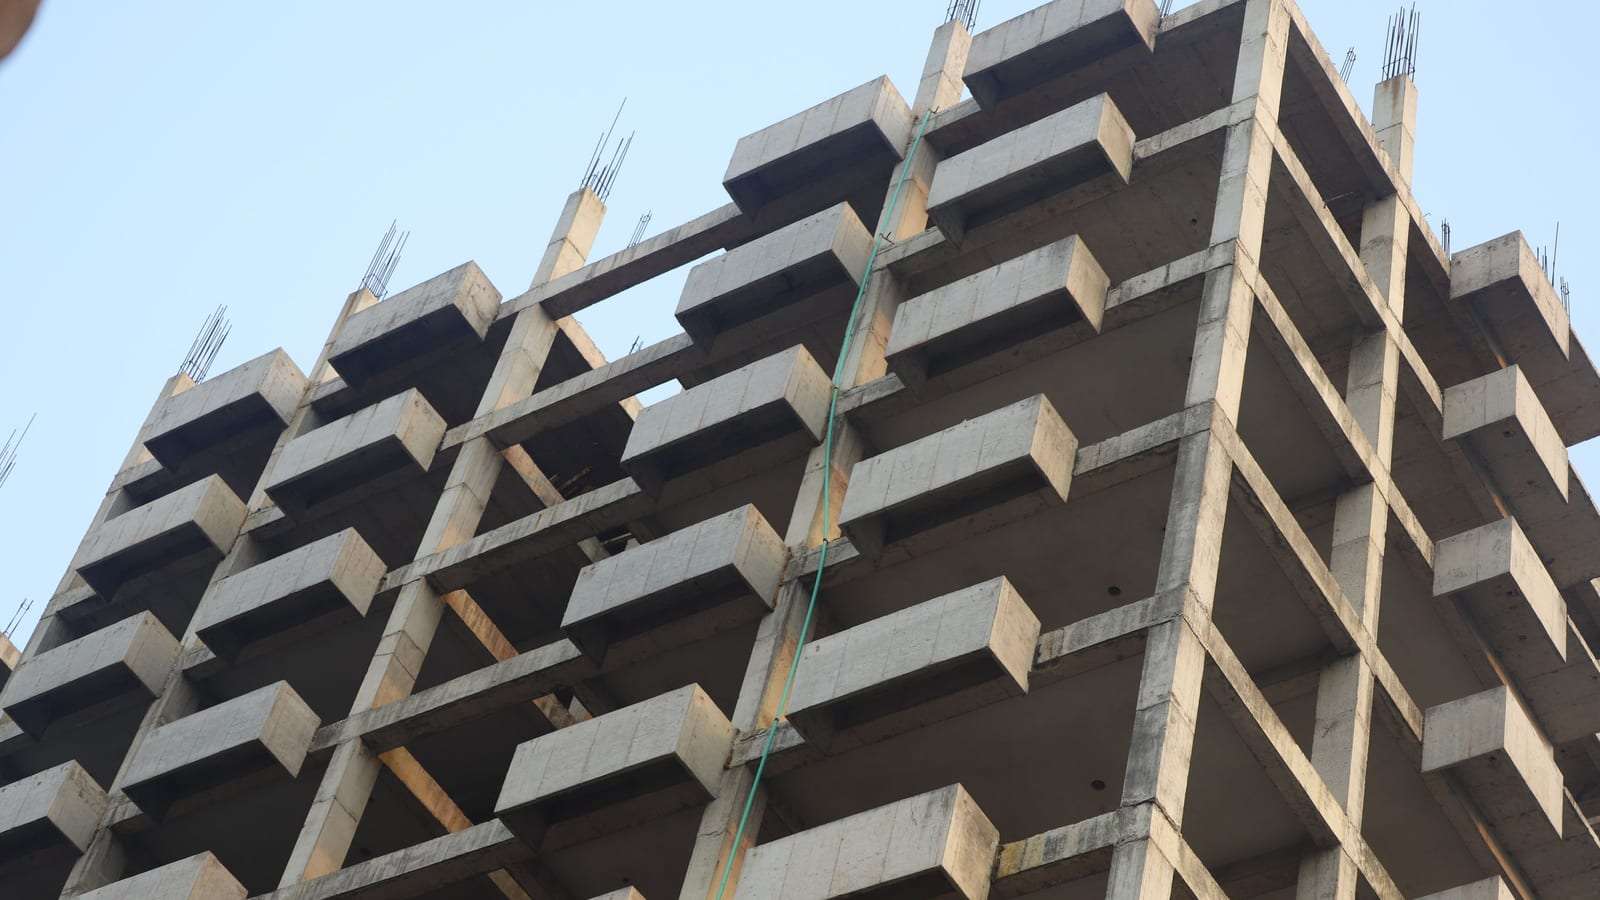
The shell starts with site preparation, excavation and soil replacement if needed, then blinding concrete, footings, ground beams and their waterproofing, then backfill and compaction, then columns and slabs floor by floor, and blockwork. At every stage the engineer must approve steel and formwork before pouring, and the concrete must be cured afterwards.
This is also the best time to confirm openings for AC and plumbing in slabs and walls, because changing them after pouring means breaking into structural elements.
8. Finishing and handover
Finishing starts with electrical, plumbing and AC services, then plaster and waterproofing of bathrooms and roofs with testing, then tiles, doors and windows, gypsum, paint, lighting, sanitaryware and facades. Approve samples in writing before ordering so you aren’t surprised by a lesser material. Read finishing levels.
When the work is done, inspect the house with the engineer, write a snagging list, and have it fixed before the final payment. Collect the as-built drawings and warranty certificates, and keep the retention until the agreed snagging period ends.
FAQ
How long does building a villa take?
It depends on area, floors, ground conditions, finishing level and how fast decisions are made. Ask the contractor for a written schedule with clear stages.
Do I start with the contractor or the engineering office?
Usually the engineering office, because a contractor needs drawings to give an accurate offer.
Do I need a supervising engineer?
Yes — they are your eyes on site, checking what you can’t check yourself before it’s covered.
When should I decide the finishing level?
As early as possible, because it affects the budget, services and even some shell details.
Can I build in phases?
Yes — many owners build the shell and finish later. But protect the shell from the weather and plan services from the start.
This guide is general information, not engineering or legal advice. Regulations and requirements differ between cities and change over time, so check your project with a licensed engineering office and the relevant authorities.